Showing posts with label Cake. Show all posts

Tuesday, 27 August 2013

The cake evolution.


Recently when I was trolling through my photos, I saw a few oldies that sparked an idea!  

When Legoman turned one I purchased a cake from the local Woolworths, a perfectly normal thing to do I assumed.  I had never thought to try to decorate one myself back then.  And don't misunderstand, I still will buy the odd cake on occasion if the circumstance (or my laziness!) deems it necessary. But on the most part I will try and make cakes for special occasions.  

I found it interesting to see the cake evolution, because it is pretty evident there has been a mass improvement in skill level on my part.  

So here are a few examples.


2005
Legoman's first cake.  Purchased from Woolies.  And I was so strict with his diet he wasn't even allowed to have any! Which goes along way to explain his unusual taste in food.  He would much rather a lemon over any kind of lolly or chocolate. 


 2005
Later in the same year I tried my hand at gel icing decorating. Clearly a resounding success.


 2006
Trying something a little more challenging the year after, it was a special milestone afterall!


2007
Legoman's 3rd Birthday.


2008
Legoman's 4th Birthday cake.  I was getting much more adventurous with my 3D shaping.


2008
Voltorb turned 2 in May.


 2009
Voltorb's 3rd Birthday cake resembled a melted candle.


2009
Oshawott was evidently impressed with his 1st Birthday cake. 


 2010
Legoman's 6th Birthday party was Lego themed.


 2010
Voltorb was a little bit spoiled, scoring 2 parties in 2 different states.  Both cakes were Digimon inspired and as requested: Palmon and Agumon.


 2010
Oshawott loved planes when he was 2.  I was aiming primarily for taste with this cake as it was just a very small get together and not a traditional kids party.  This was a white chocolate mud cake with ganache.


2011
Legoman requested a werewolf cake.


2011
Voltorb's 5th Birthday Voltorb cake.


2011
Oshawott, still loved planes when he was 3, so I figured I would put a bit more effort in for his party.


2011
And not so much effort for Pichu's 1st.


2012
The fail Minecraft cake for Legoman's 8th.  What didn't help that it was a freakish 38 degree day in Hobart and the party was outdoors.


2012
Another Pokemon themed cake for Voltorb when he turned 6. 


2012
After the lack lustre effort of his 1st Birthday cake I had to redeem myself with a sandcastle cake.  Edible.. of course. 


2012
And again on the actual day of his Birthday, a Little Charley Bear cake.


 2013
 I made a pink ombre cake in January for my friends 30th.


2013
Legoman was 9 this year.  I had to redeem myself again, this time with another attempt at a Minecraft cake. 


2013
Voltorb, ever the Pokemon fan, wanted Tepig this year when he turned 7.


2013
My Dad turned 70 this year and this was my most ambitious cake to date, I had a clear vision in my head, but bringing that to life was always going to be tricky.  Completely edible, minus the candles anyway. 


2013
Oshawott turned five this August and requested a cake in replica to his favourite teddy, Super Croccy.  Super Croccy cake comes with saddle to ensure Super Croccy can ride in style to the party. 


So as you can see there is a clear progression of skill level (and bravery!) over the years!  Pichu turns 3 in September and I am going to attempt a fondant rocket ship!

What has been your greatest cake challenge?


I am linking up with Essentially Jess for IBOT (I blog on Tuesdays).

Tuesday, 12 February 2013

Pink Ombre Cake How-To

On the Australia Day weekend I was honoured to make a very special cake for a very special friend.  Not just any Birthday, the monumental big 3-0.

Wanting to push myself, and wanting it to be memorable, I decided to try my hand at a variable shade layer cake.  

A pink Ombre cake!   

I used a basic butter cake recipe, in total it used 3 batches.   I halved each batch, increased the shade of the batter each time and baked them individually and one at a time.


Basic Butter Cake Recipe
  • 250g butter, softened
  • 1 cup caster sugar
  • 2 teaspoons vanilla essence
  • 3 eggs
  • 2 1/2 cups self-raising flour
  • 2/3 cup milk
  • 1 cheeky toddler helper
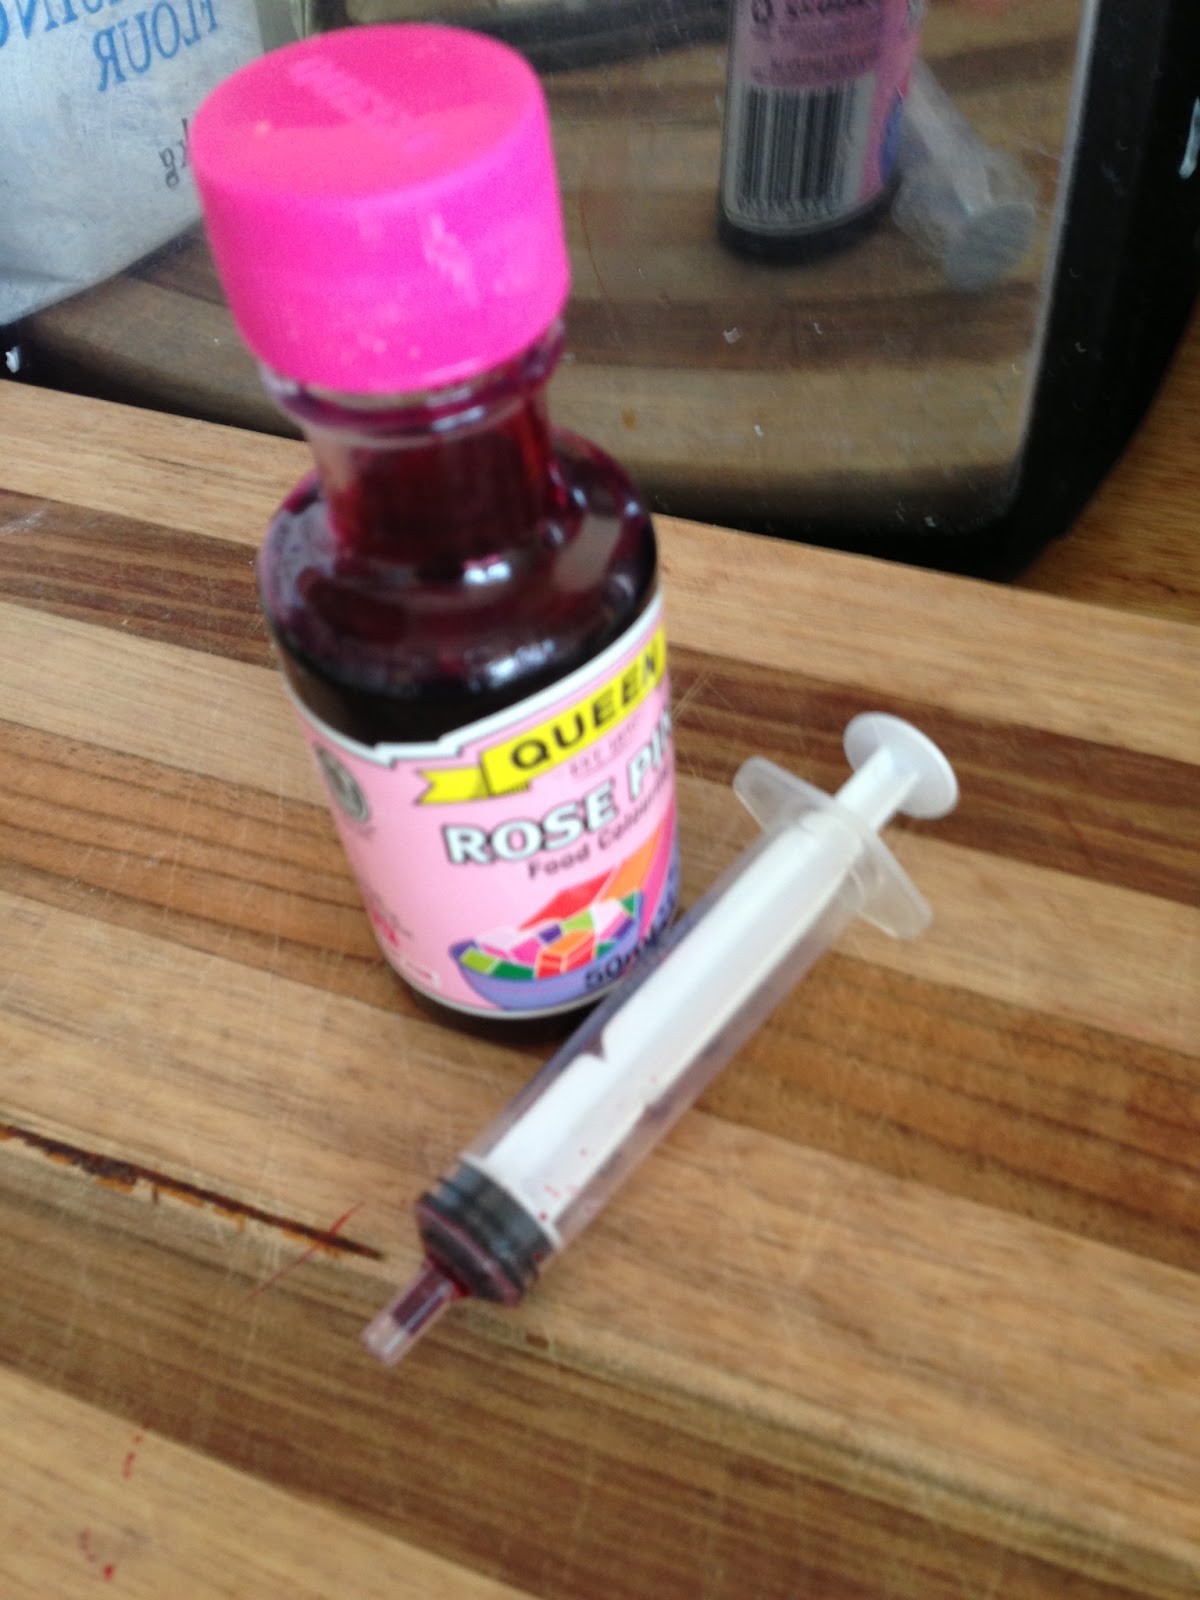
  • Food colouring of choice, I used liquid so I could measure it easily, though gel's also work, especially if you want to make a rainbow cake.

Preheat oven to 180°C/160°C fan-forced. Grease and line an 8cm-deep, 30cm (base) round cake pan with baking paper.  (and re-line between each layer)
 
Cream butter, sugar and vanilla on medium-high speed until light and fluffy.
 
Combine eggs 1 at a time. Add half of the flour, stir to combine. Add half of the milk, stir to combine. Repeat with remaining flour and milk. 


Add food colouring amount according to the directions below. 
 

Spread into prepared pan. Bake for 25-30 minutes or until a skewer inserted into the centre comes out clean. Stand in pan for 10 minutes. 


Turn out onto a wire rack to cool.  Be very careful when turning out.  Cake may crack as it is thin.   I froze each layer between baking paper.  Keeping in mind the order of the layers so they are easy to ice later. 

You can bake this days in advance, as long as you don't mind it taking up half the room in your freezer.


Food Colouring
I used a children's medicine syringe to ensure I kept track of the exact amount in each batch, increasing it by 1/4 or a 1/2 ml each batch (you just have to use your eye to see if it has changed shade enough)


1st batch of cake = 1/4 ml
After half was taken out to bake, I then added another 1/4ml to the remaining half.

2nd batch of cake = 3/4ml
After half was taken out to bake, I then added another 1/4ml to the remaining half.

3rd batch of cake = 1.5ml
After half was taken out to bake, I then added another 1/2ml to the remaining half.


You could also use a smaller pan, but you would need to just bake 2 batches of cakes, and split each batch into 3.  Also monitor the cooking time, as it may reduce by 5-10 mins.

Butter Icing

  • 250g butter, cubed, at room temperature
  • 450g (3 cups) pure icing sugar, sifted
  • 60ml (1/4 cup) milk

I made a massive 4 batch lot of icing, and still had to make another double batch.


The transportation was pretty difficult, it was heavy!  It was also a warm day (for Tassie) and I had to carry it on my lap, and then hold it up whilst we drove down our steep driveway.  Nearing the end of our 15min drive it was starting to slide off the board and onto my hand!  

The Birthday girl decorated it with fresh flowers when we arrived (she is much better at cakes then me!)  I wish I had had a ribbon to put around the sides, it really needed something to break up that mass of icing wall.


So after all that effort I was very anxious that the layers were, not only in the right order, but varying enough in colour.  You cant check that, not until all 30+ guests are hovering around the cake singing Happy Birthday.  Not stressful at all.


If you have enjoyed reading this and/or my photos, please subscribe via email at the top right of the page. Then head over and like my Facebook page. And then... follow along at Twitter too! 


I am joining in the IBOT linkup party that happens each Tuesday over at Essentially Jess.

Share This

LinkWithin

Related Posts Plugin for WordPress, Blogger...