
Wanting to push myself, and wanting it to be memorable, I decided to try my hand at a variable shade layer cake.
A pink Ombre cake!
I used a basic butter cake recipe, in total it used 3 batches. I halved each batch, increased the shade of the batter each time and baked them individually and one at a time.
Basic Butter Cake Recipe
- 250g butter, softened
- 1 cup caster sugar
- 2 teaspoons vanilla essence
- 3 eggs
- 2 1/2 cups self-raising flour
- 2/3 cup milk
- 1 cheeky toddler helper
- Food colouring of choice, I used liquid so I could measure it easily, though gel's also work, especially if you want to make a rainbow cake.
Preheat oven to 180°C/160°C fan-forced. Grease and line an 8cm-deep, 30cm (base) round cake pan with baking paper. (and re-line between each layer)
Cream butter, sugar and vanilla on medium-high speed until light and fluffy.
Combine eggs 1 at a time. Add half of the flour, stir to combine. Add half of the milk, stir to combine. Repeat with remaining flour and milk.
Add food colouring amount according to the directions below.


Spread into prepared pan. Bake for 25-30 minutes or until a skewer inserted into the centre comes out clean. Stand in pan for 10 minutes.

Turn out onto a wire rack to cool. Be very careful when turning out. Cake may crack as it is thin. I froze each layer between baking paper. Keeping in mind the order of the layers so they are easy to ice later.
You can bake this days in advance, as long as you don't mind it taking up half the room in your freezer.
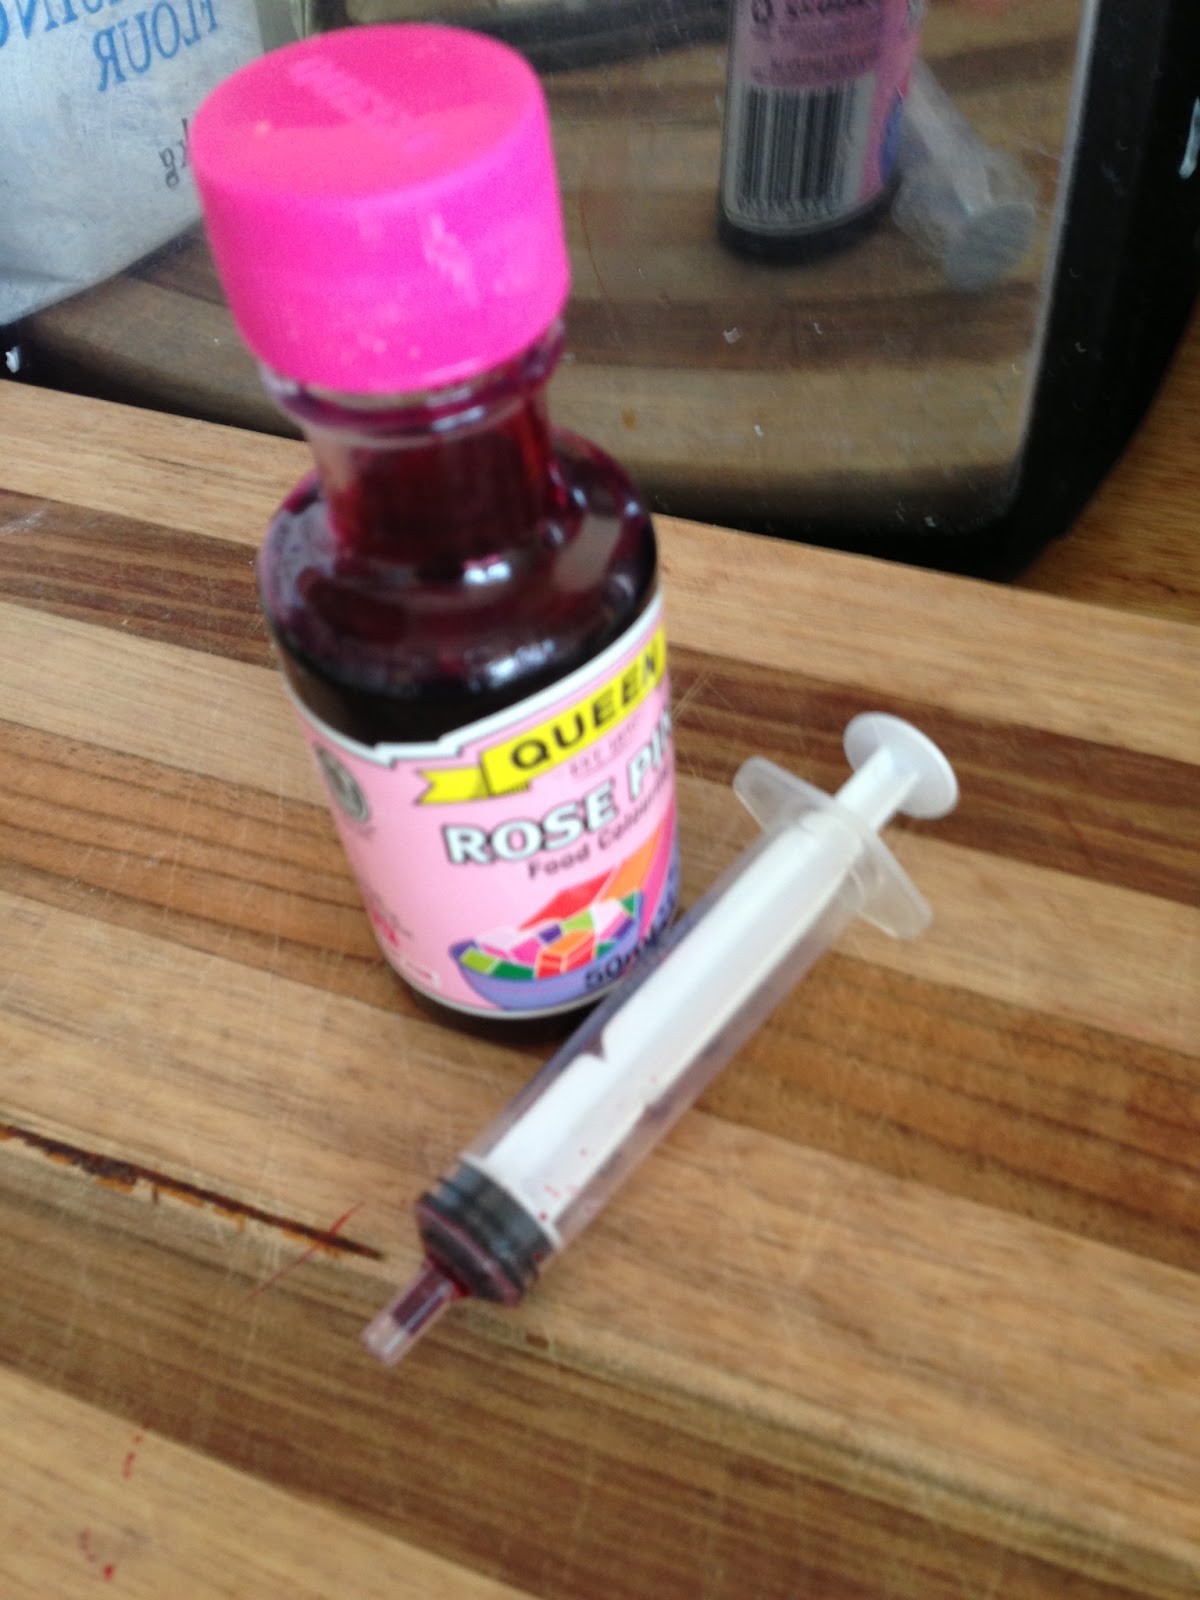
Food Colouring
I used a children's medicine syringe to ensure I kept track of the exact amount in each batch, increasing it by 1/4 or a 1/2 ml each batch (you just have to use your eye to see if it has changed shade enough)
1st batch of cake = 1/4 ml
After half was taken out to bake, I then added another 1/4ml to the remaining half.
2nd batch of cake = 3/4ml
After half was taken out to bake, I then added another 1/4ml to the remaining half.
3rd batch of cake = 1.5ml
After half was taken out to bake, I then added another 1/2ml to the remaining half.
You could also use a smaller pan, but you would need to just bake 2 batches of cakes, and split each batch into 3. Also monitor the cooking time, as it may reduce by 5-10 mins.
Butter Icing
- 250g butter, cubed, at room temperature
- 450g (3 cups) pure icing sugar, sifted
- 60ml (1/4 cup) milk
I made a massive 4 batch lot of icing, and still had to make another double batch.


The transportation was pretty difficult, it was heavy! It was also a warm day (for Tassie) and I had to carry it on my lap, and then hold it up whilst we drove down our steep driveway. Nearing the end of our 15min drive it was starting to slide off the board and onto my hand!
The Birthday girl decorated it with fresh flowers when we arrived (she is much better at cakes then me!) I wish I had had a ribbon to put around the sides, it really needed something to break up that mass of icing wall.


So after all that effort I was very anxious that the layers were, not only in the right order, but varying enough in colour. You cant check that, not until all 30+ guests are hovering around the cake singing Happy Birthday. Not stressful at all.

If you have enjoyed reading this and/or my photos, please subscribe via email at the top right of the page. Then head over and like my Facebook page. And then... follow along at Twitter too!
I am joining in the IBOT linkup party that happens each Tuesday over at Essentially Jess.
